Track Tip: Stagger your rail joints.

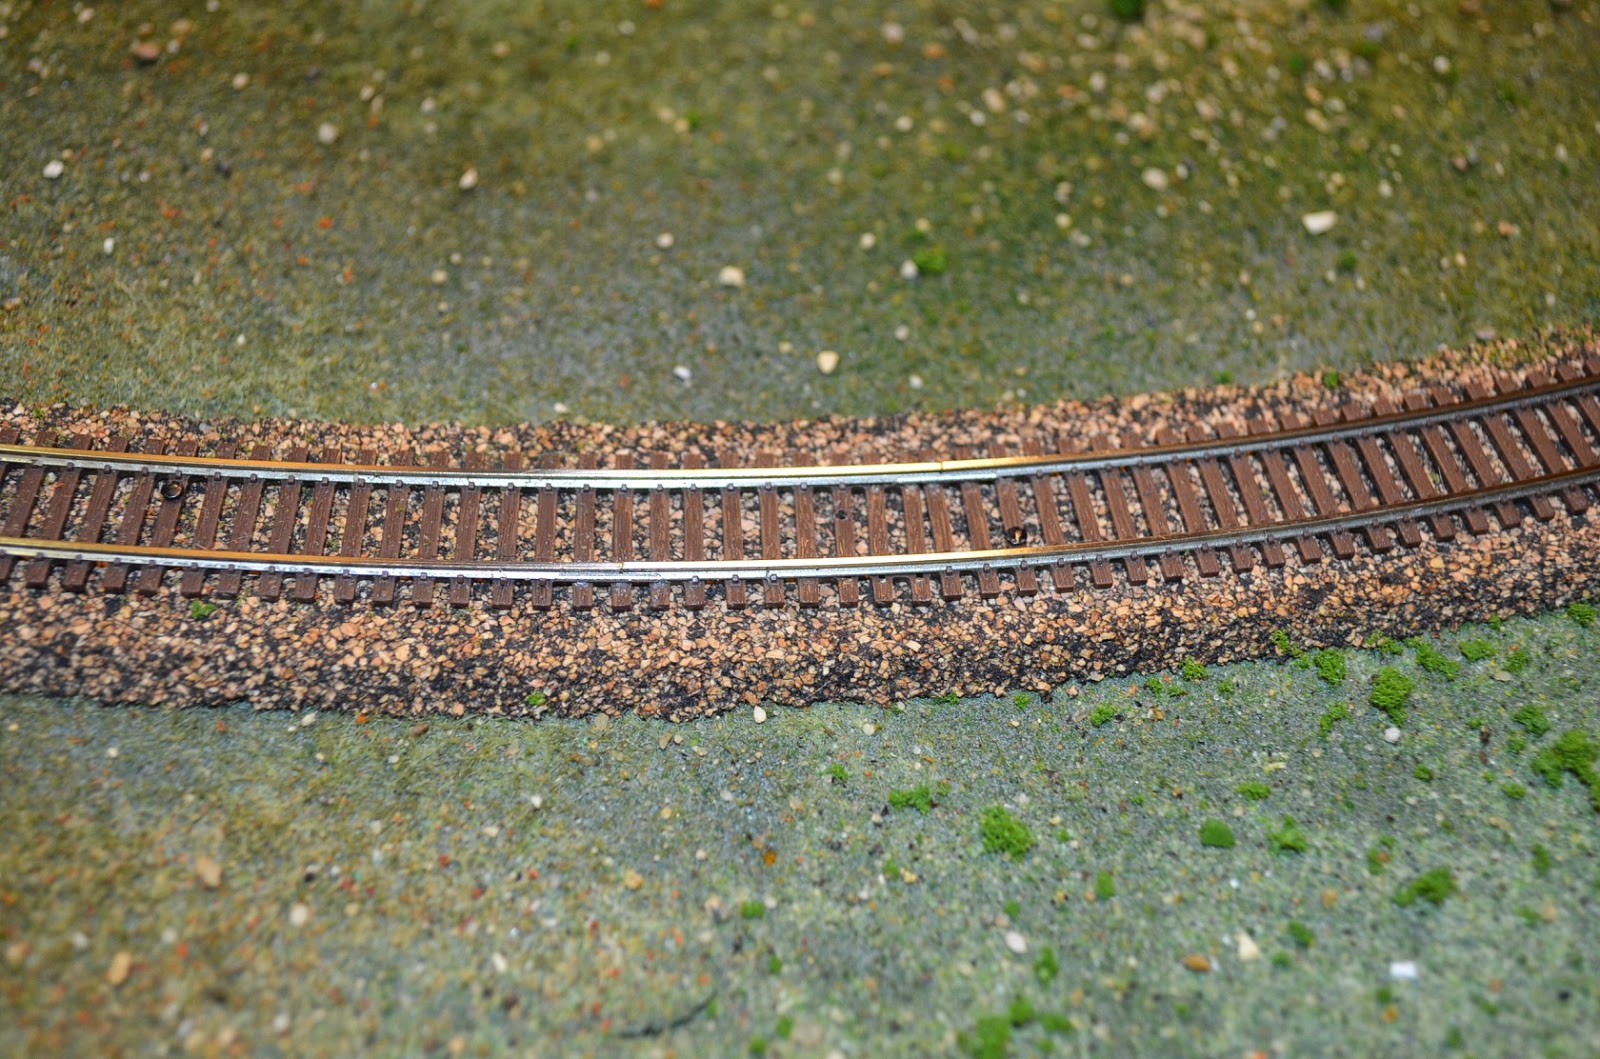
While laying flex track years ago I discovered a method for keeping the rails parallel at a joint.  If not carefully laid, flex track will “kink” at a joint in a curve.  To combat this, typically you hear of people soldering the joints before bending the track.  I typically don’t like to solder my joints, as I often change the track around and soldered joints would make this very difficult.

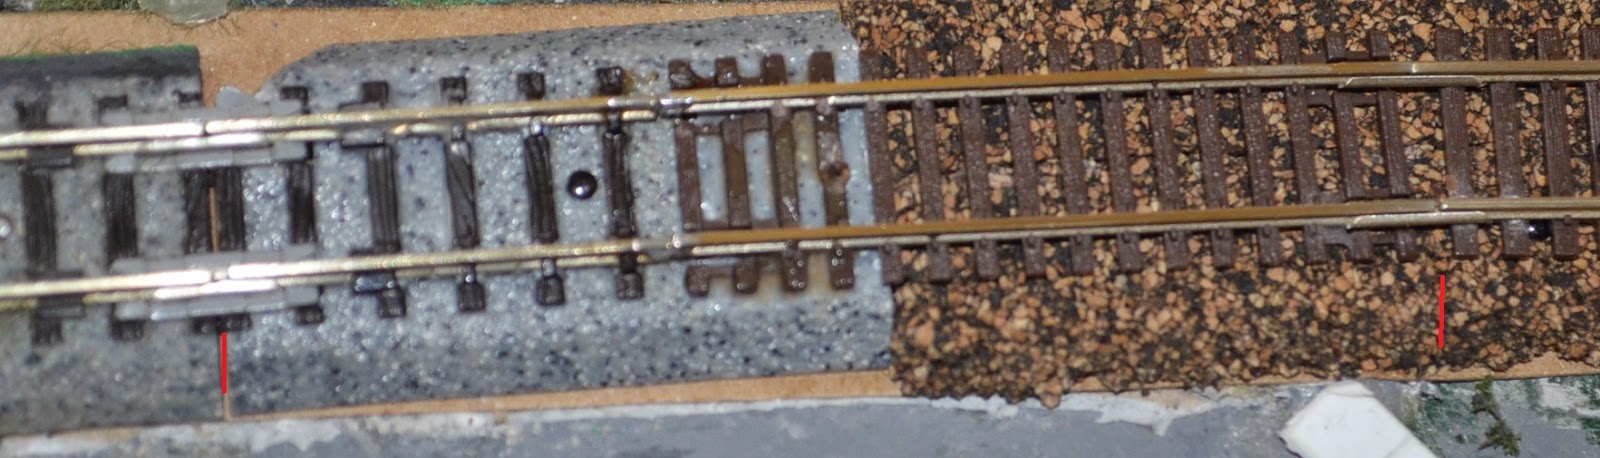
I discovered the rails will stay parallel if the joints are offset or staggered.  By carefully removing a few spikes, rail joiners can be offset.  Here is an example of such a joint.  The joints are separated by about an inch or more.  If very careful, you can accomplish such a joint without removing any ties.  This prevents you from having to glue them back in later.

Staggered Joints

Track Conversion

The layout I inherited from my grandfather was done with Kato Unitrack.  I knew I would eventually convert it to something more realistic.  I’ve liked working with Atlas brand track, and its easy to get a hold of, so it was my natural first choice.  That and I had a box of Atlas flex-track and cord roadbed in storage.

I could not convert the entire layout in one fell swoop, buying all the switches would exceed by budget.  I would need to do it in sections.  I planned on converting the loop first, followed by the various sidings.  In order to accomplish this, I created two sections of conversion track.  They would be placed at the beginning of the conversion and one would “move” with the end of the converted track as I converted different sections.

Custom built transition track

I built two pieces, each a different length.  I have one that is a combined 3″ long and a second one that is a combined 9″ long.

I’ll upload another picture in the future, when the pieces are not in use. =p